10 auto detailing la jolla Checklist
March 16, 2026


If you drive near the coast, a plan beats guesswork. This practical 10 auto detailing la jolla checklist helps San Diego drivers outsmart sun, salt air and dust before they etch clear coat or dull interiors. You will see exactly what to do, when to do it and why it matters for resale value and day-to-day pride. Think of it as sunscreen, a windbreaker and a dust filter for your car, all in one step-by-step guide. To ground this in local reality, San Diego averages well over 260 sunny days a year and coastal neighborhoods like La Jolla experience frequent salt spray and onshore winds, which accelerate oxidation and corrosion. The right sequence and products prevent common problems like water spots from hard, high TDS (total dissolved solids) hose water, UV (ultraviolet) fading on trim and embedded iron from brake dust. Zs Clean San Diego LLC brings this sequence to your driveway with in-house trained technicians, top-tier, manufacturer-recommended products and transparent pricing, so you get lasting results without pressure.
Use the quick reference below to identify risks around your home, office or surf break, then move through the checklists to prepare, execute and validate the work. As you read, ask yourself a simple question: where does your car spend most of its time, and what is constantly attacking it there? With that answer, you can tailor the actions and cadence to your lifestyle. Even better, you can hand the entire plan to a mobile pro and reclaim your weekend without compromising quality or protection.
Start with clarity. A few minutes of prep prevents hours of rework and protects delicate surfaces from avoidable damage. Before you grab a hose, diagnose paint and interior condition in both shade and sun. Identify contamination you can feel, not just see, by gliding a clean hand inside a plastic sandwich bag across the paint; if it feels gritty, you will need decontamination. Catalog your environment too. In La Jolla, wind shifts can carry salt spray several blocks inland, and midafternoon panels can reach temperatures that make soaps flash and coatings misbehave. Map out your work area with shade, airflow and water runoff in mind. Gather the correct tools and manufacturer-recommended products that match your paint and interior materials, then set realistic goals: a thorough maintenance detail or a deeper paint correction and protection service. If time is tight, book Zs Clean San Diego LLC for mobile detailing delivered to your location (driveway). Their in-house trained technicians bring a clean, controlled workspace canopy and premium, original equipment manufacturer (OEM) safe products to you, keeping the process efficient and consistent while maintaining transparent pricing.
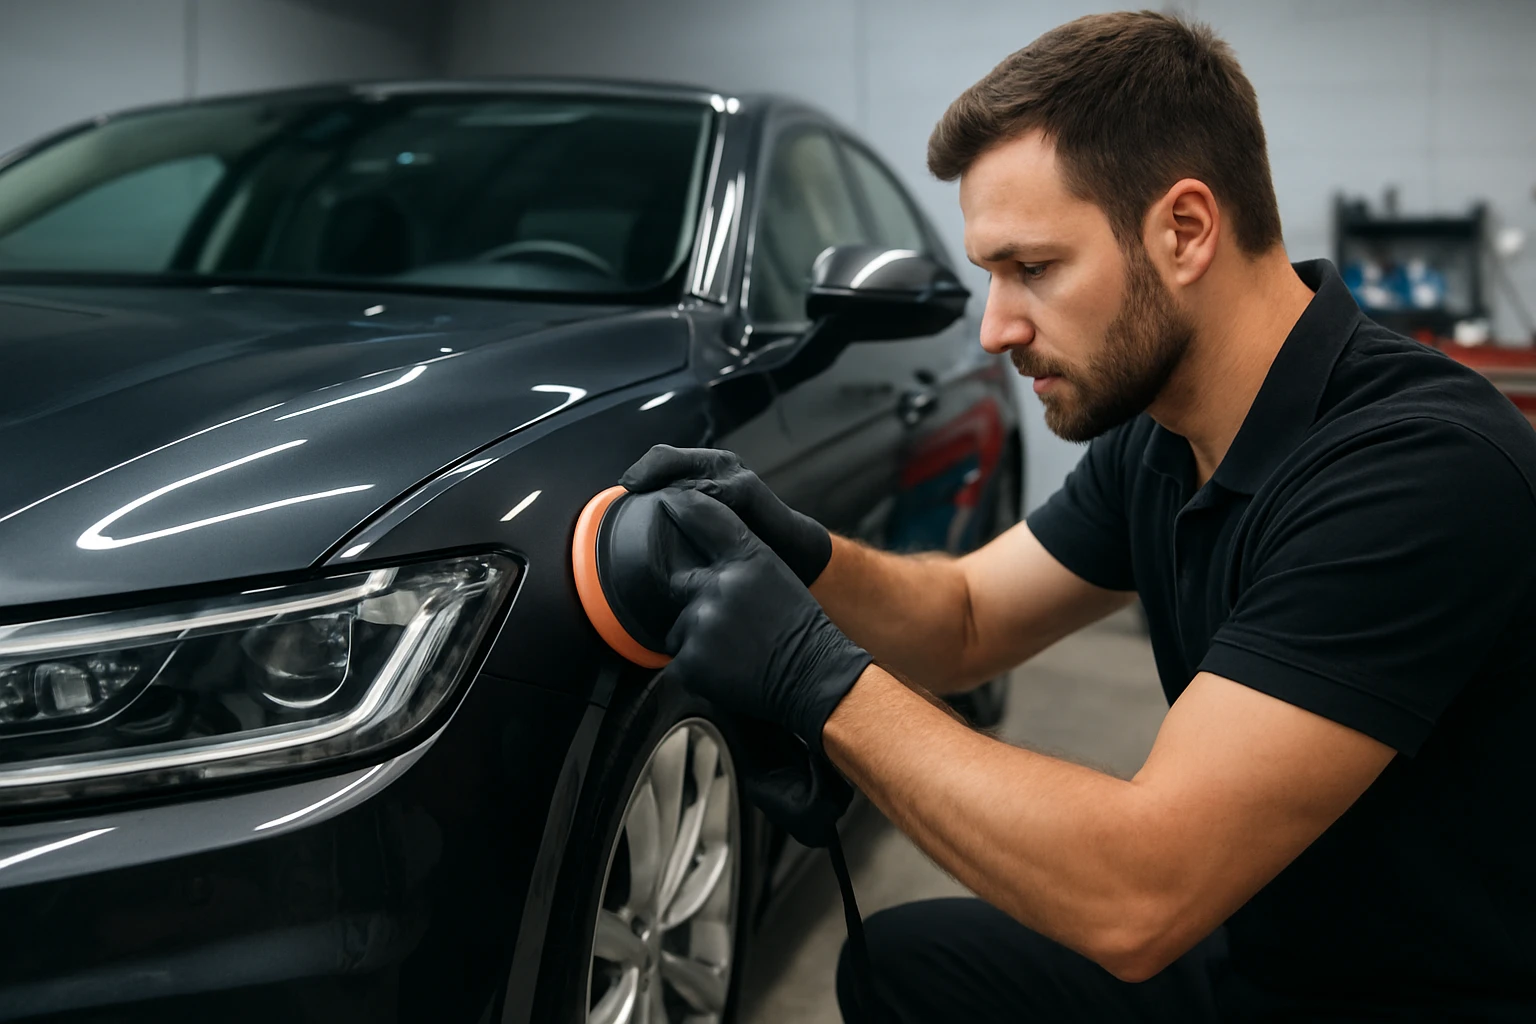
Work in a smart sequence that respects local conditions. A thorough pre-rinse removes loose grit that would otherwise scratch during contact washing, and a two-bucket approach isolates dirt before it recontacts paint. Decontamination with an iron remover targets invisible metallic fallout common on coastal and freeway routes, then a gentle clay removes remaining bonded contaminants. Once the surface is clean, decide on polishing. A one-step finishing polish recovers gloss on lightly swirled daily drivers, while a two-step correction may be justified for oxidized or heavily marred paint. After polishing, wipe down with an IPA (isopropyl alcohol) panel prep to remove oils so coatings can bond. Apply the ceramic coating in a controlled environment to avoid dust nibs and high humidity issues, and then move inside to refresh the cabin with leather conditioning and appropriate trim/plastics treatments. Zs Clean San Diego LLC technicians create a mobile, controlled workspace in your driveway with canopy shade, flooring and lighting so washes, corrections and coatings cure clean and even.
Case in point: a La Jolla daily driver parked curbside near the cove showed chalky black trim and stubborn water spots. After iron removal and a careful one-step polish, Zs Clean San Diego LLC applied a mid-grade ceramic coating and a dedicated trim restorer with UV (ultraviolet) inhibitors. Gloss readings improved visibly and maintenance washes now take about 40 percent less time, a benefit echoed by industry data that links hydrophobic coatings to faster drying and easier cleaning. With ongoing dust and salt exposure, the owner now schedules maintenance details every 6 to 8 weeks and uses shade for quick rinses after beach days to prevent spotting from high TDS (total dissolved solids) water.
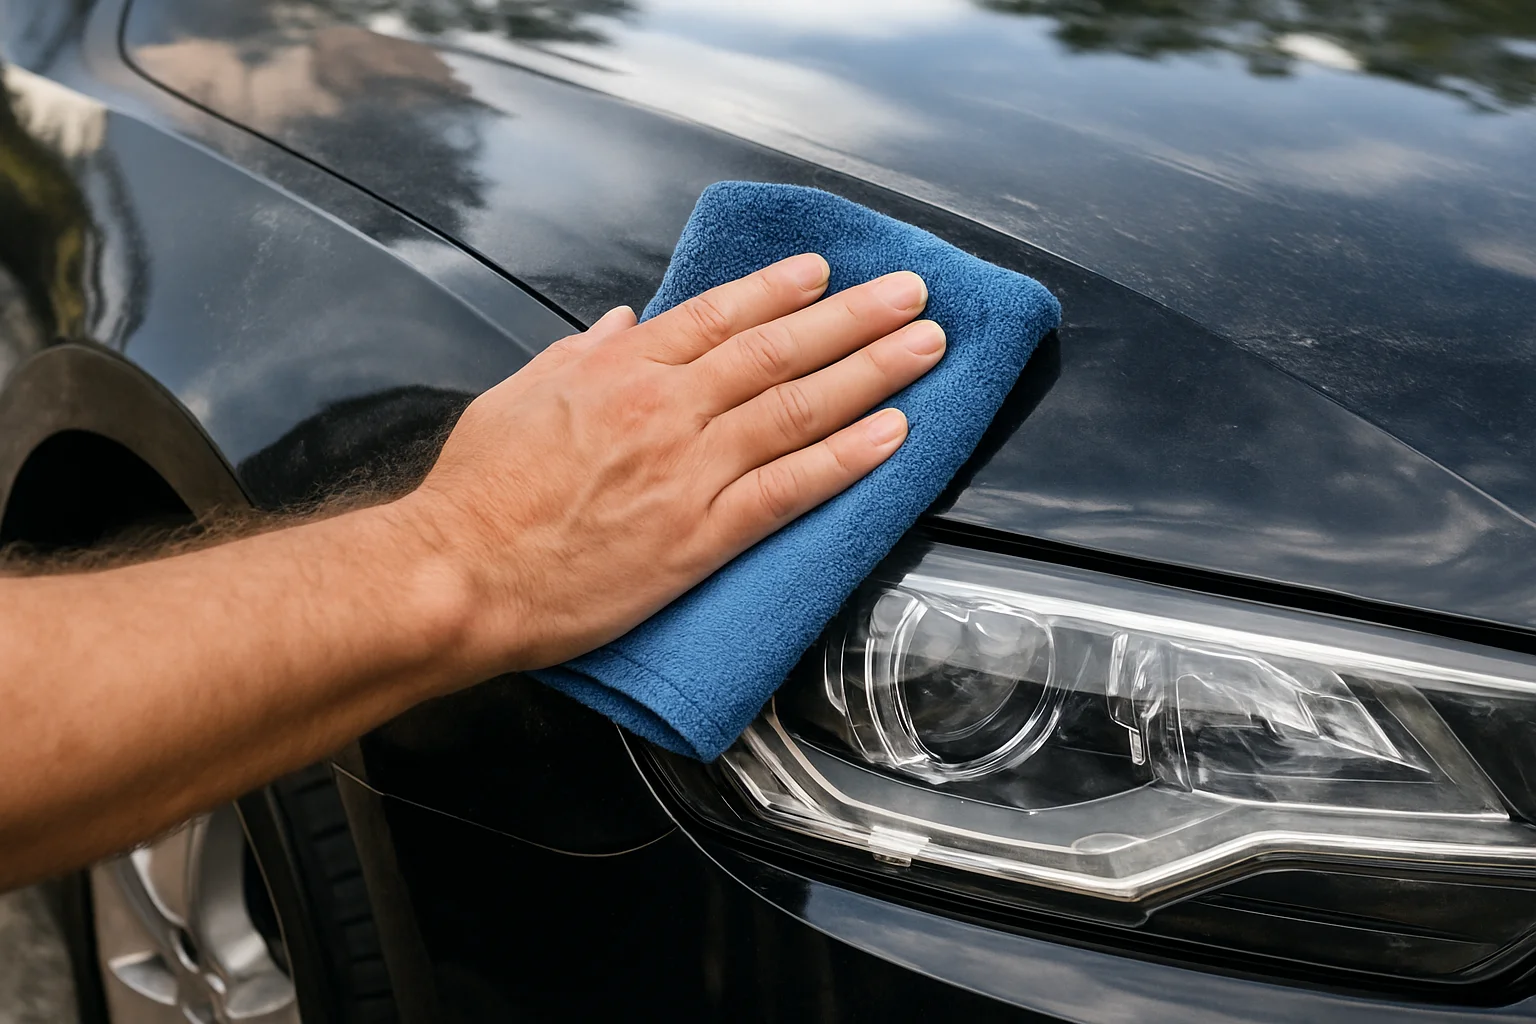
Do not let the final rinse be the last word. Validate results so you know protection is working and surfaces are truly clean. The simplest check is water behavior. On a protected panel, clean water should bead or sheet rapidly; on glass, it should clear quickly above highway speeds, which indicates the coating is functioning. Equally important is checking your work in multiple lighting conditions. San Diego’s bright sun flatters gloss but hides smearing and buffer trails that appear under softer, low-angle light. Smell and touch also guide you; protectants should not leave greasy residue that attracts dust, and the cabin should not smell like strong solvents after a proper detail. When you work with Zs Clean San Diego LLC, technicians document beading, gloss and before-after photos, and provide honest maintenance guidance tailored to your driving and parking habits, not a sales script. Their transparent pricing means you get clear recommendations rather than pressure.
Even the most careful owners make small mistakes that add up to dull paint, streaky glass or coatings that underperform. Most of these slips come from rushing in the wrong conditions or using products that are not designed for your materials. Polishing hot panels, for example, can lead to sticky residue and uneven correction. Skipping decontamination leaves bonded grit under the pad, which creates new swirls as you try to remove old ones. Using off-label household cleaners can discolor plastics or strip UV (ultraviolet) protection from leather. Finally, many people overapply dressings or forget door jambs, fuel doors and the inner lips of wheels, where grime quietly accumulates. Zs Clean San Diego LLC prevents these misses by operating in a clean, controlled workspace, using premium, manufacturer-recommended products and giving honest recommendations tailored to your car and lifestyle. Their in-house trained technicians with hands-on training follow a proven flow that balances results with safety and efficiency.
A quick local example: a white crossover that lived near Windansea showed persistent water spotting and dull door pillars. After a gentle two-step correction and ceramic coating, the surface beaded strongly, and the owner reported far fewer spots even after marine layer mornings. The key difference was not just products; it was sequence, lighting control and steady hands. That is what a good checklist enforces every time.
This checklist turns coastal challenges into a clear, repeatable plan that preserves gloss, comfort and value. With a smart sequence and the right products, San Diego’s climate stops being an enemy and becomes a cue for better care.
In the next 12 months, imagine breezing through quick rinses, watching water fly off coated panels and stepping into a cabin that resists sun fade and dust. Small, steady habits compound into a car that always looks ready for a scenic drive.
How will you tailor this 10 auto detailing la jolla plan to your parking, commute and weekend adventures so your vehicle looks fresh every day?
Zs Clean addresses these problems with mobile detailing delivered to your location (driveway), paint correction and ceramic coating, protecting San Diego drivers against coastal sun, salt air and dust.
Schedule Driveway DetailZs Clean San Diego LLC addresses San Diego’s coastal air, year-round sun and dusty roads with mobile, professional detailing focused on paint correction and ceramic coating to protect vehicles. They employ in-house trained technicians with hands-on training, use premium, manufacturer-recommended products, operate in clean, controlled workspaces for consistent quality, provide honest, personalized recommendations and maintain transparent pricing.


ZS Clean is committed to your satisfaction and your comfort. We tailor our service system to make your life simpler and easier—saving you time and giving you peace of mind.