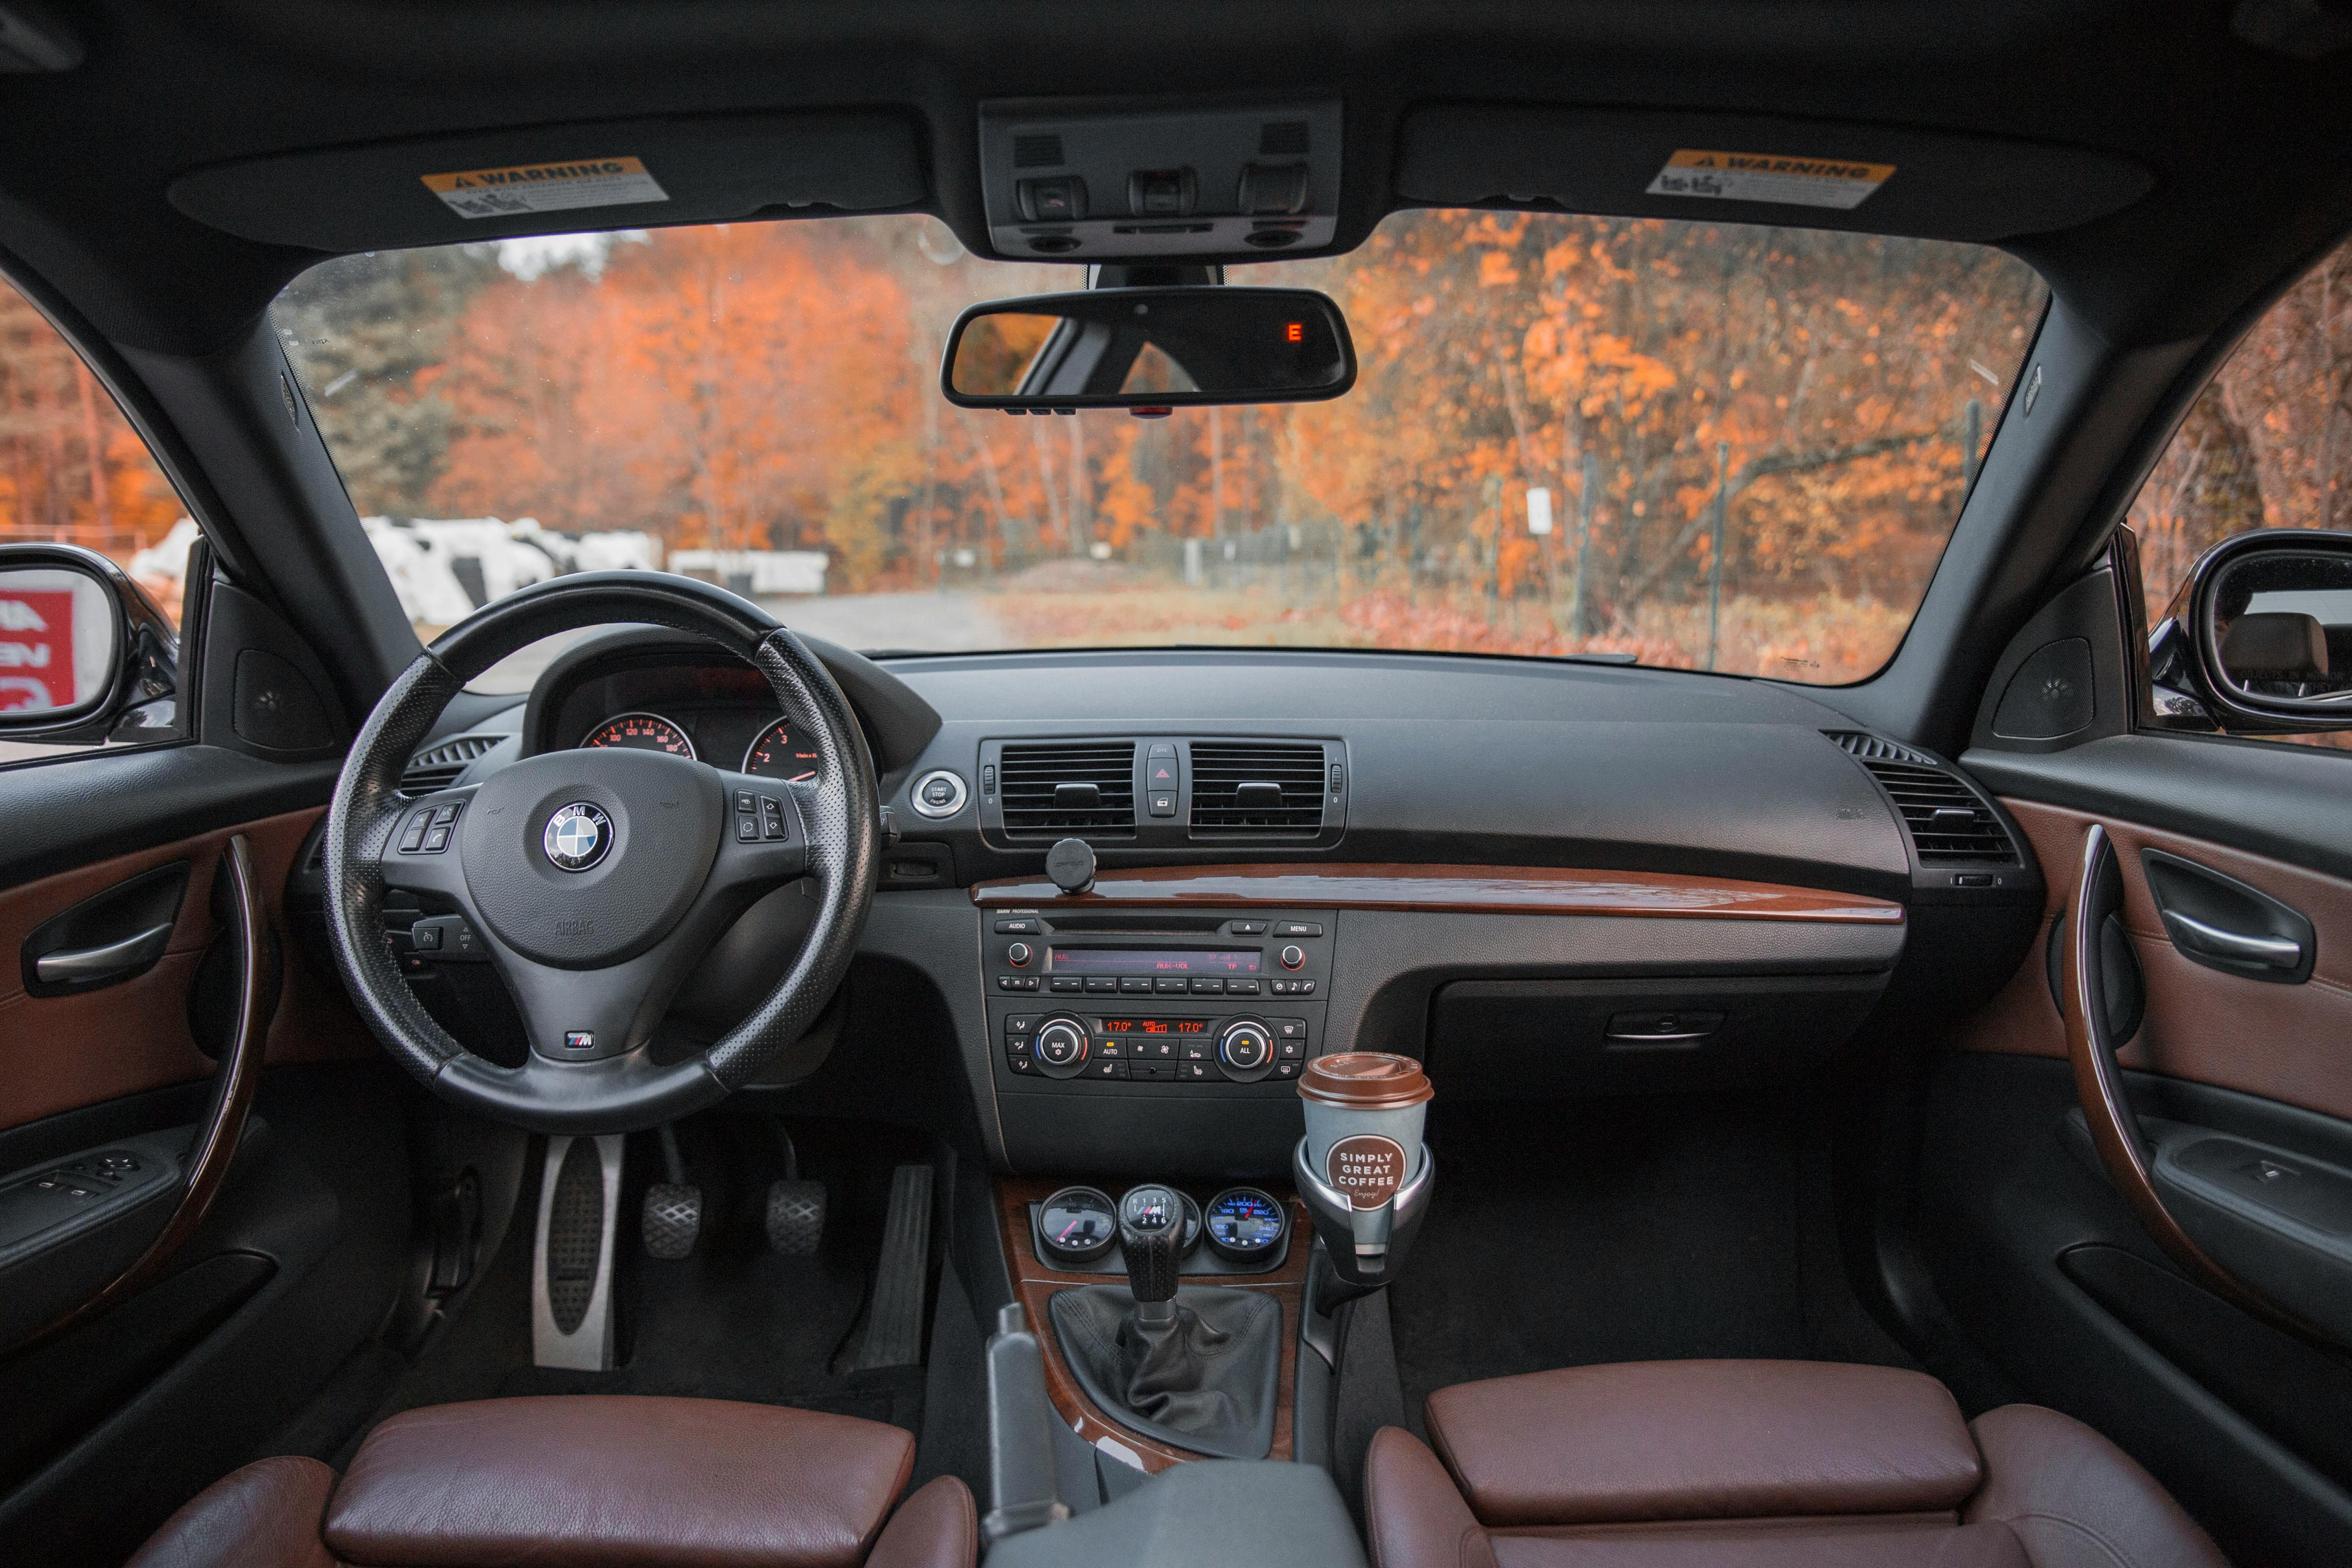
The Dirty Truth Hiding in Your Cup Holders
A small look into the place we forget the most — and what it quietly reveals about how we live inside our cars.
3 min read
November 25, 2025
Confused about polishing vs. buffing? Learn how paint works, when each is needed, DIY steps, and how to protect results—written for San Diego drivers.
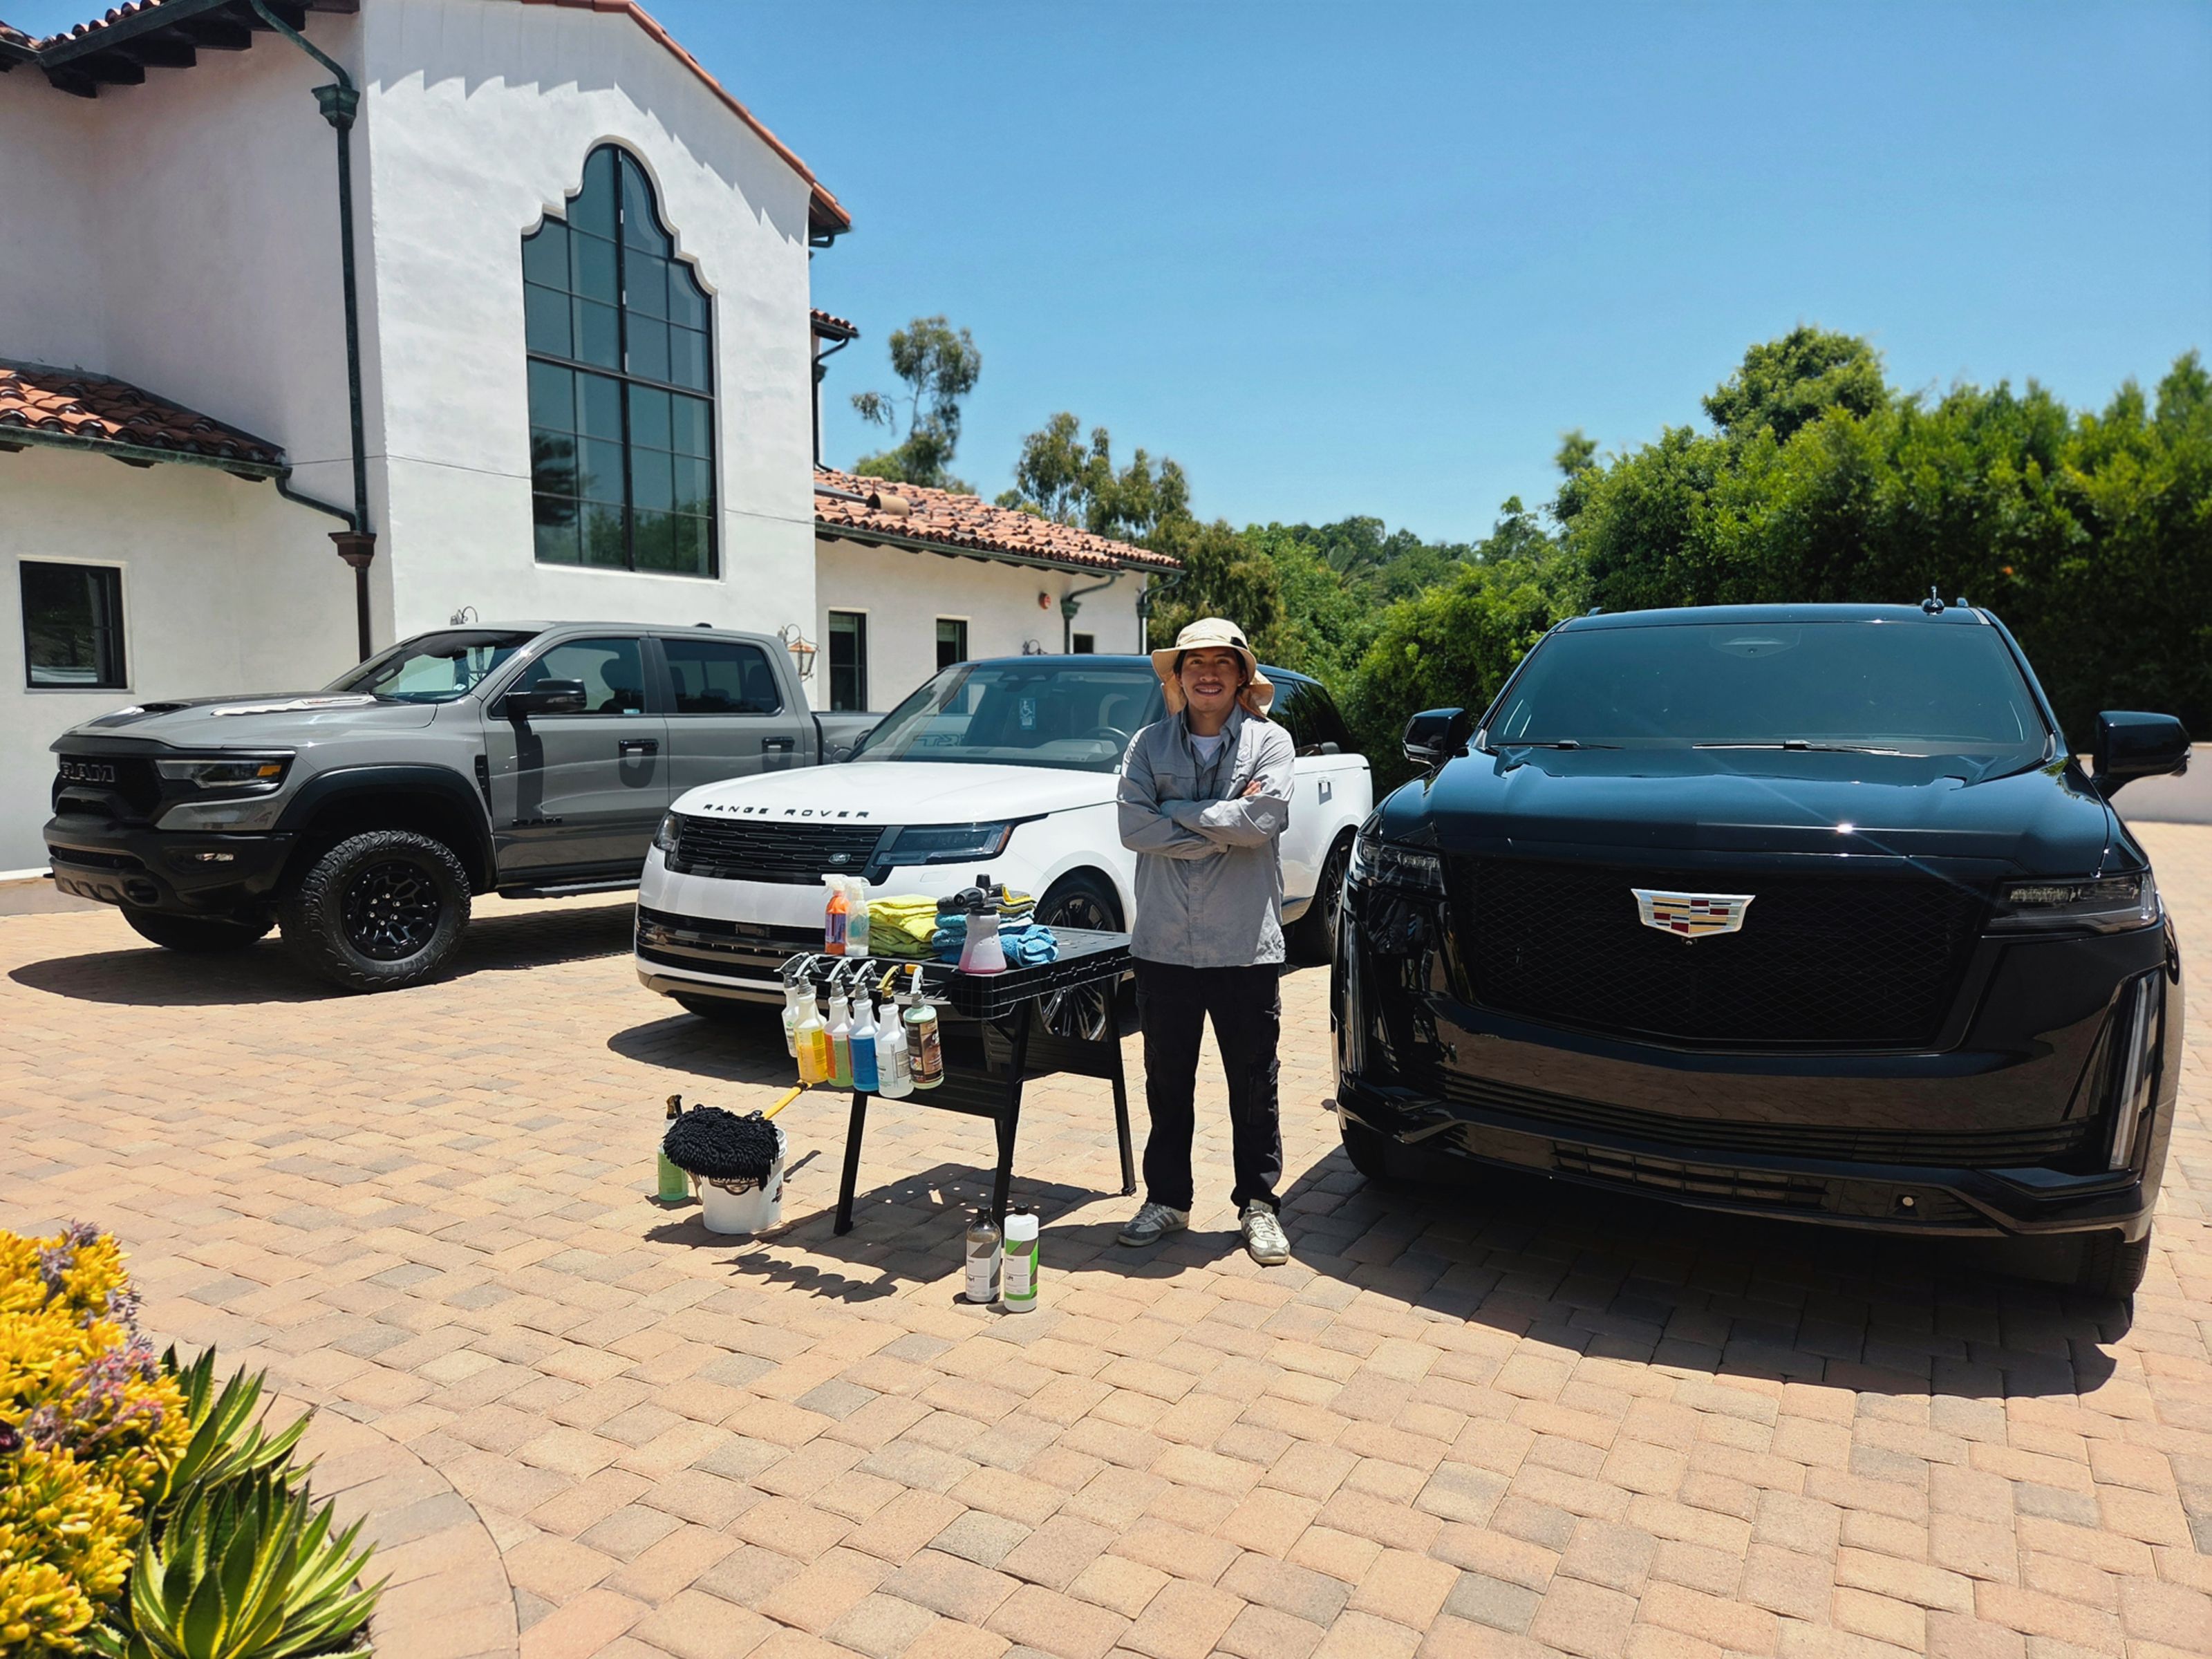
I’ve had a long week of regulars—maintenance washes, quick interior resets, and a couple of protection jobs—nothing unusual for San Diego. But this week came with a moment that stuck. I was finishing up at a client’s house in Escondido. We’ve been taking care of their cars for years, so the neighbors have seen me around: hose neatly coiled, towels stacked, machine tidy, the whole routine.
There’s a neighbor across the street—older gentleman, truck guy, the kind of presence that makes a lifted Silverado look like it belongs. He always waved. I always waved back. We’d never actually talked. This time he crossed the street, looked at his Chevy, then at me, and asked, “Hey—be real with me. Do I need a polish or a buff? My paint’s looking dull.”
He said it casually, like the words just floated up, but it landed hard because I hear that question constantly—in Escondido, San Marcos, Vista, Rancho Bernardo, Poway, 4S Ranch. People know those two terms; they’re less sure how they’re different or which one matters for their paint. I gave him a careful answer there in the driveway. Then I went home and wrote this for everyone who’s asked me the same thing.
When you look at a car’s color, you’re really looking through a clear protective layer. Automotive paint is a stack: primer for grip, a basecoat for color, and a transparent clear coat up top. That clear coat creates depth and reflection—and it’s the part that gets scratched, swirled, hazed, and oxidized.
Most of the ugly stuff you notice lives in that clear coat:
Correction—whether you call it polishing or buffing—works by leveling that top layer just enough to erase the peaks and valleys that bend light the wrong way. That “just enough” matters. Clear coat isn’t endless. The goal is to remove as little as possible to restore clarity, then protect it so you don’t have to keep taking material off again and again.
If you want to see the day-to-day habits that prevent half these issues, glance at our exterior care ideas (good wash technique beats heroics later): https://www.zscleansandiego.com/exterior-car-detailing
For staying on track after you’ve fixed things, a cadence helps: https://www.zscleansandiego.com/maintenance-plan
And when you’ve earned a finish you love, lock it in: https://www.zscleansandiego.com/ceramic-coating
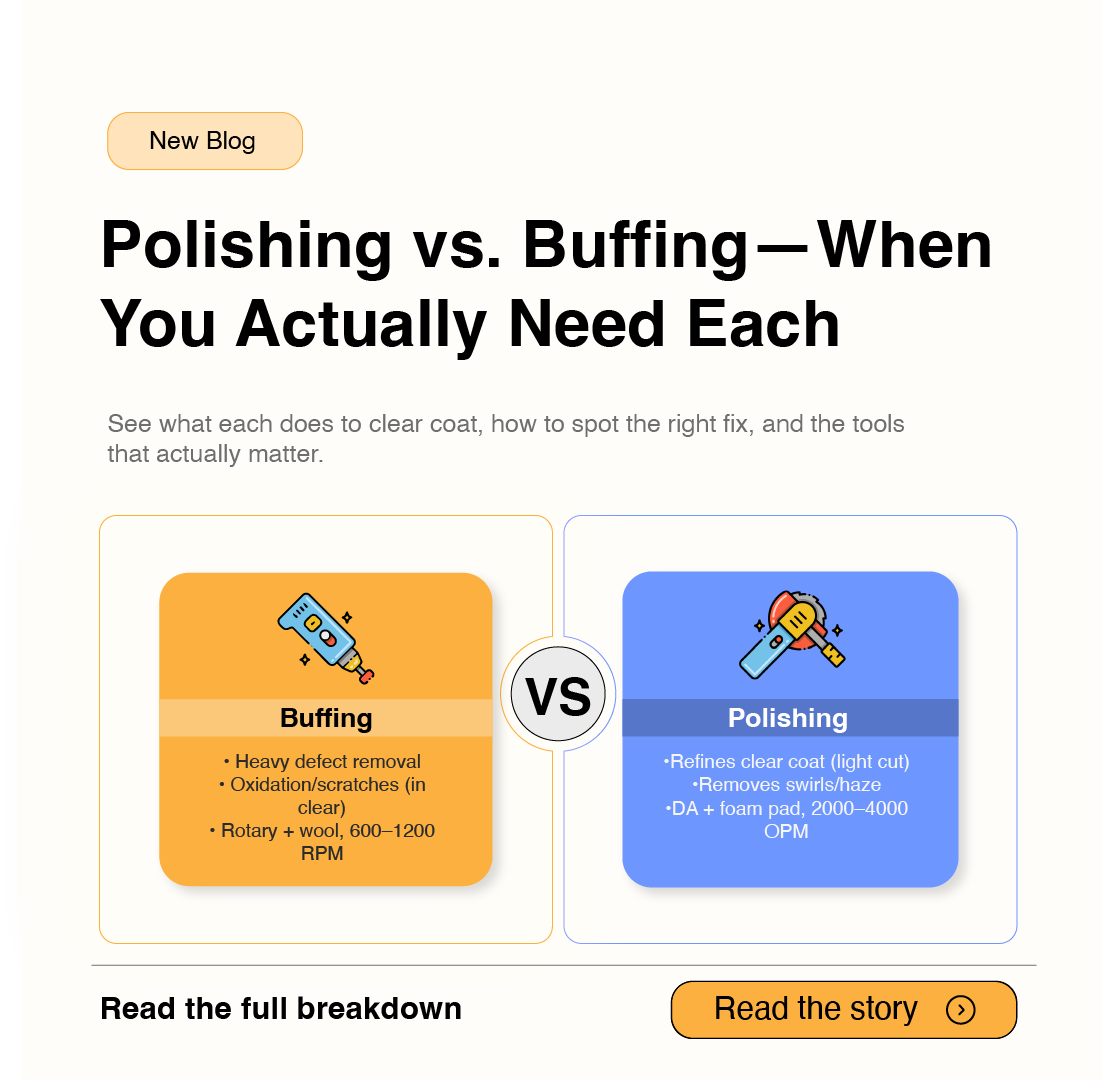
When I say polishing, I mean a refining step: a finishing polish on a dual-action machine with a soft foam pad to clear light defects—faint swirls, mild haze, light towel marks—and bring back depth and crisp reflections.
Where polishing shines (no hype—just accuracy):
What polishing won’t do:
How I approach it in the wild: I start with a test spot. One pad. One finishing polish. Three or four slow, balanced passes on a small section. Wipe. Inspect under direct light. If the clarity returns and the swirls are essentially gone, I don’t “go heavier” just because I can. That restraint preserves the clear coat you’ll need long-term. This is paint correction and protection, not paint correction and repeat.
DIY angle (if you want to try the refine step):
People use buffing as a catch-all for machine work. In my shop brain, buffing implies a heavier correction first—more cutting power to level deeper defects—followed by proper polishing to remove any leftover haze and restore clarity.
The two-stage idea:
When I actually choose it:
Risk if you get this wrong:
My standard here is boring and reliable: tape edges, light pressure, controlled arm speed, frequent pad cleaning, and honest inspection. The goal is the minimum cutting that solves the problem—and a finish that holds up when you roll into daylight.
DIY angle (proceed with respect):
Rick’s Silverado in Escondido
Rick’s truck looked dull, but under a bright light I saw mostly uniform micro-marring and light haze—classic quick-wash marks. A single-step polish on foam cleared it. The metallic flake woke up, depth returned, and we didn’t touch more clear than necessary. He expected a “buff.” What he needed was a refined polish and better wash habits going forward.
A White RAV4 in Rancho Bernardo
Daily outside parking, sprinkler overspray, summer sun. Here, a two-step paid off: microfiber + mild compound to clear the oxidation and spot ghosting, then a finishing polish to remove the compounding haze. We sealed it, taught a gentler wash method, and set a maintenance rhythm so we’re not re-correcting every season.
The funny one
I once asked a customer what products he used. He said, “Three towels and optimism.” We doubled the clarity by replacing “optimism” with: clean buckets, a gentle wash mitt, proper drying towels—and then a light polish. Technique first. Abrasives second. That order saves clear coat and sanity.
Moral: least aggressive that works. You can always step up. You can’t put material back.
Think of this like a checklist I run automatically:
Test-spot method (please steal this):
Choose one panel area. Start with a finishing polish on foam. If it under-delivers, step up one notch with a mild compound, then immediately refine. Don’t guess. Prove the combo in a tiny square, then repeat it with confidence.
Simple kit that covers most cases
Order of operations
Common mistakes I fix every month
A quick myth while we’re here: ceramic coatings don’t remove scratches. They protect the finish you create; they don’t magically erase defects. That’s why the correction step and the protection step need each other—and why doing only one is rarely enough.
If your paint looks generally good but a bit tired, start with polishing. If you see heavier swirls, oxidation, or stubborn water-spot marks, plan for a cautious cut + finish. On dark colors, expect to finish well if you want that crisp, mirror-clean look. And no matter what you choose, protect it and maintain it—San Diego sun is patient, and it never takes a day off.
I want you to feel confident making that call on your driveway. If this helped, I send plain-English guides like this to my mailing list—short, useful, and local to Escondido, San Marcos, Vista, Rancho Bernardo, Poway, and 4S Ranch. No fluff. Just what works.
Get practical breakdowns, DIY checklists, and real case stories from around San Diego—written so you can make the right call the first time.
Get car care tips and updates you’ll actually use.
A: If your paint only has light haze and swirls, polishing is plenty. Buffing is for heavier defects, oxidation, or neglected finishes.
A: Inspect under direct sun or a bright light. If defects are faint, polish. If they’re obvious (chalky look, deep swirls, heavy water spots), buffing + polishing may be necessary.
A: Not if done correctly. The key is controlled, minimal removal and proper finishing. Over-aggressive buffing risks thinning clear coat.
A small look into the place we forget the most — and what it quietly reveals about how we live inside our cars.
.jpg)
Discover how each season affects your car and learn simple, science-backed ways to protect it year-round—from pollen to road salt.