From Dirty to Detailed: How We Revive Neglected Cars
August 26, 2025

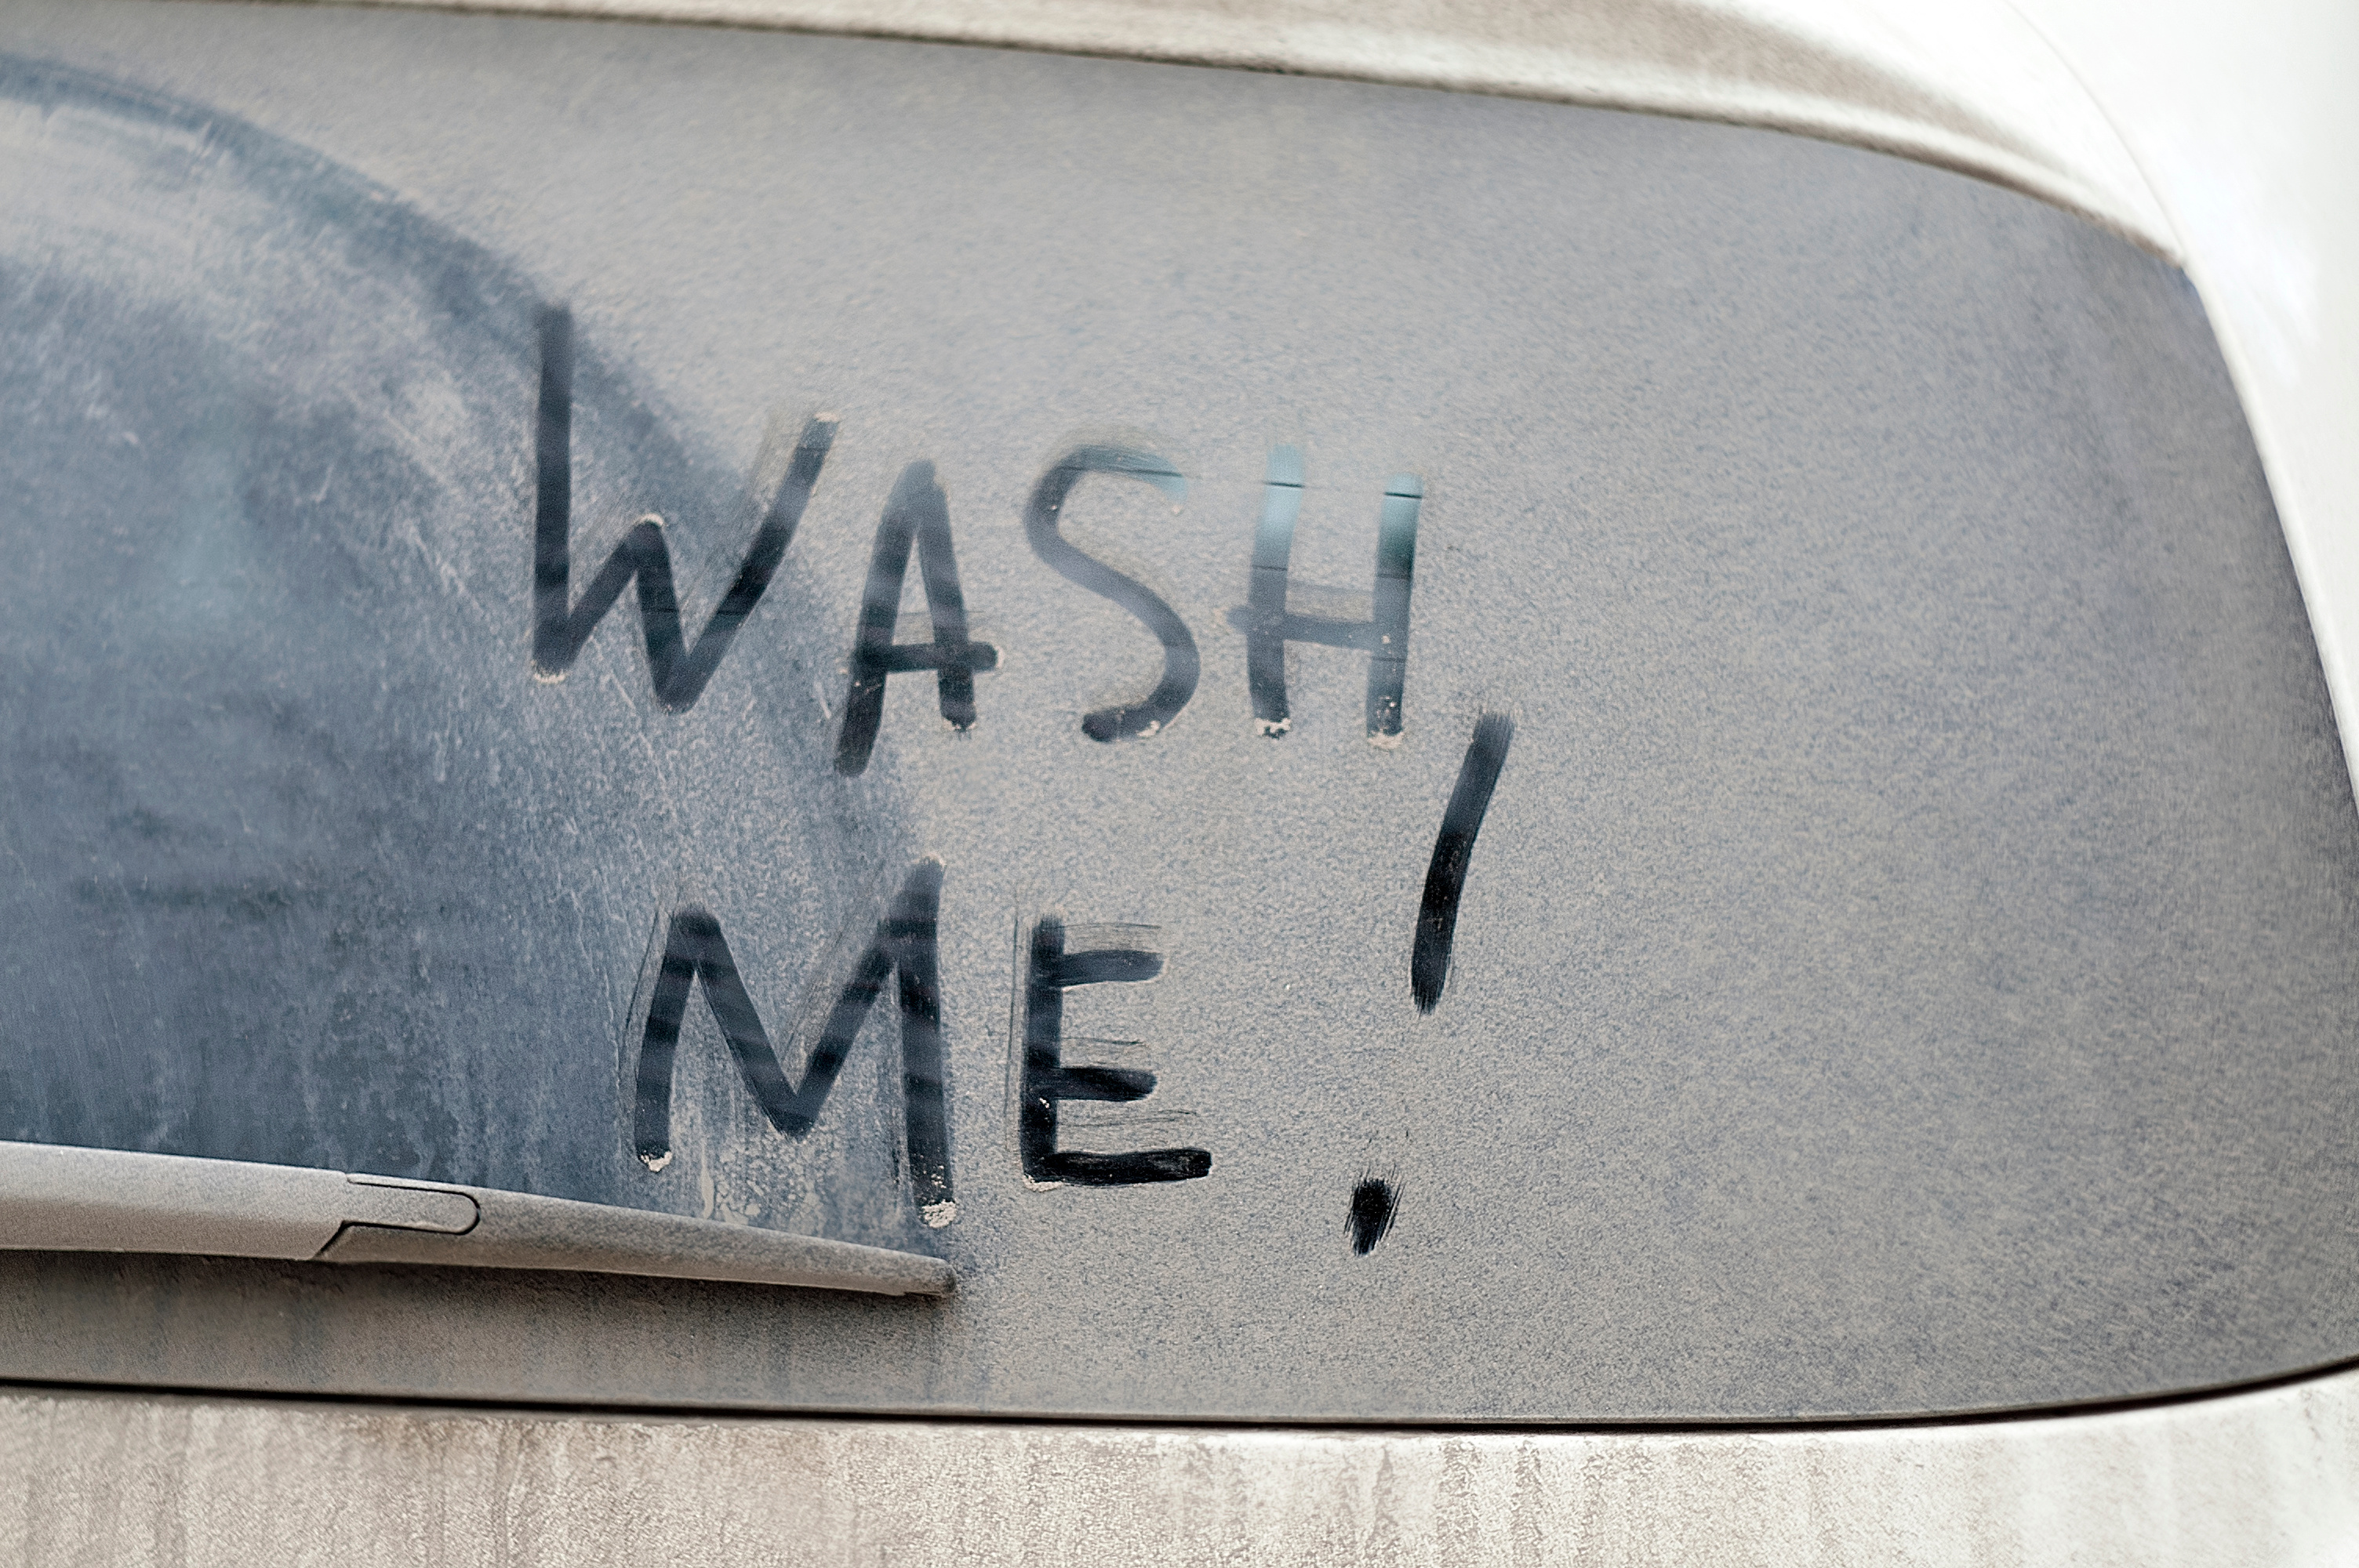
Some cars come to us looking like they’ve been through everything — long road trips, kids, pets, fast food spills, beach days, maybe even years without a real clean. And that’s fine. Honestly, I like jobs like these. The dirtier the car, the bigger the transformation.
This post is about showing you what really goes into taking a neglected car and bringing it back to life. I’m not just going to tell you “we clean it.” I’ll break down every step, why it matters, and the tools and products we use.
This isn’t theory — it’s the process we follow at Z’s Clean when we get one of those “please save my car” jobs.
First, let’s clear something up: almost no car is “too far gone.” People think if their paint is dull, the carpets are trashed, or the leather’s cracked, there’s no way back. That’s not true. Sure, some damage is permanent (like rust eating through metal or leather that’s already torn), but 9 times out of 10, a good detail can restore way more than people expect.
And sometimes, the biggest win isn’t making it look new. It’s making it feel livable again. Nobody likes driving around in a car that smells like fast food from 2019 or has sticky cupholders. Detailing takes that stress off your mind.
Before we touch the car, we do a full walkaround. On one job, I had a Honda Civic that had been parked under trees for months. Sap, bird droppings, dirt so thick you could write your name in it. Inside? Coffee stains, candy stuck in the back seat, and a smell that reminded me of an old gym bag.
We don’t just look at the car — we point things out to the customer. “See these scratches? We can polish most out, but not all.” “This carpet stain might lighten, but it won’t disappear completely.” That way, when they get the car back, they’re surprised in a good way, not let down.
Always start with wheels. Why? Brake dust. That black stuff you see on rims isn’t just dirt — it’s metal shavings from your brakes. If you wash the paint first and then do wheels, you’ll spread all that abrasive dust onto the paint.
On our Civic job, the wheels looked more brown than silver. We used P&S Brake Buster and soft brushes to break it all down. After rinsing, you could actually see the original shine again.
Next, we cover the whole car in thick foam. It looks fun, but the point is to let soap loosen the dirt before we touch the paint. Touching dirty paint is the fastest way to add swirls and scratches.
I let the foam sit for a few minutes, then rinse. On a neglected car, the rinse water almost always runs brown. That’s when you know you’re making progress.
We wash with the two-bucket method: one with soapy water, one with clean water to rinse the mitt. This keeps dirt from cycling back onto the car. For soap, I like Meguiar’s Gold Class Car Wash because it’s pH balanced and doesn’t strip wax or sealants.
By this point, you start to see the car’s real condition under the dirt. On the Civic, the paint was covered in swirls and had no shine left. But at least it was clean and ready for the next stage.
A wash only removes what’s sitting on top. To really prep paint, you need decontamination.
After this step, the paint feels smooth like glass. On neglected cars, this stage makes a huge difference.
Paint correction is what separates detailing from just washing. This is where we polish away swirls, scratches, and oxidation.
On the Civic, we used a dual-action polisher with a medium-cut pad and compound. It took a few passes, but the dull, chalky paint started reflecting like a mirror again.
Paint correction takes hours. A single-stage correction can be 2–4 hours. Multi-stage (where you cut, polish, and finish separately) can take 8+ hours. But the results are worth it.
Most neglected cars aren’t just dirty on the outside. Inside is where people really live — and where the worst buildup happens.
Here’s the process:
On the Civic, the seats had coffee stains that had been there for years. We lightened them by about 90%. The smell? Gone after a shampoo and ozone treatment.
Once everything’s clean, we protect it so it stays that way:
For this Civic, we used a paint sealant that should last 6 months and dressed the interior plastics to give them a factory look.
This is where we double-check everything: streak-free glass, polished exhaust tips, door jambs wiped, even the trunk cleaned. It’s the small stuff that makes the car feel “done.”
When the customer came back, they were shocked. “It doesn’t even look like my car.” That’s the goal. Not just clean, but revived.
People sometimes ask, “Why is detailing so expensive?” Well, look at the process above:
It’s not a quick wash. It’s a full restoration service.


ZS Clean is committed to your satisfaction and your comfort. We tailor our service system to make your life simpler and easier—saving you time and giving you peace of mind.